Bantam Tools Factory Friday: The Art of Kitting Containers
Welcome to Factory Friday! As in the last installment, I’ll give you a behind-the-scenes look from the factory floor by describing one of the ways we’re streamlining the process we use to assemble each Bantam Tools Desktop PCB Milling Machine here at Bantam Tools HQ.
Before we rearranged our assembly line a few weeks ago, all production parts sat adjacent to the assembly line, forcing assemblers to dig through and count parts before each step of the process. Now, all production parts reside downstairs, out of the way of the assembly line. We did this for two reasons: to make more room for assembly of Bantam Tools Desktop PCB Milling Machines and to force us to kit the parts downstairs. Now there’s no putting together of subassemblies or counting out nuts and bolts on the line anymore. We’ve already noticed how much leaner and cleaner this makes the line, and how much easier it’s become for the assembly team to do their job smoothly.
We’ve since “kitted” all fasteners and subassemblies in cardboard bins downstairs. I’ve been working on making these kits more effective on both ends: easier to fill downstairs in inventory and easier to unpack on the line. By lasercutting various thicknesses of cardboard sheets and taping them together, I’ve been able to put together some kits like this:
Each kit matches a single assembly form (in this case, “X Carriage Pre-Z”), so one of the first steps in each form is to “retrieve the necessary kit.” As each assembler moves through the assembly form, the parts are presented to them in an orderly fashion. Fasteners that are used together (screws and washers, for example) are placed in the same cup, parts that tangle easily (like our flexure springs) are set on top of one another, and wiring can be swept out of the way using extra-large pockets.
By using the laser to etch text and parting lines on the top layer of each kit, it’s easy for the “kitter” to see where each part goes. When all is said and done, both kitter and assembler shouldn’t have to refer to a list of parts elsewhere — they should only have to look at the top layer of the kit.
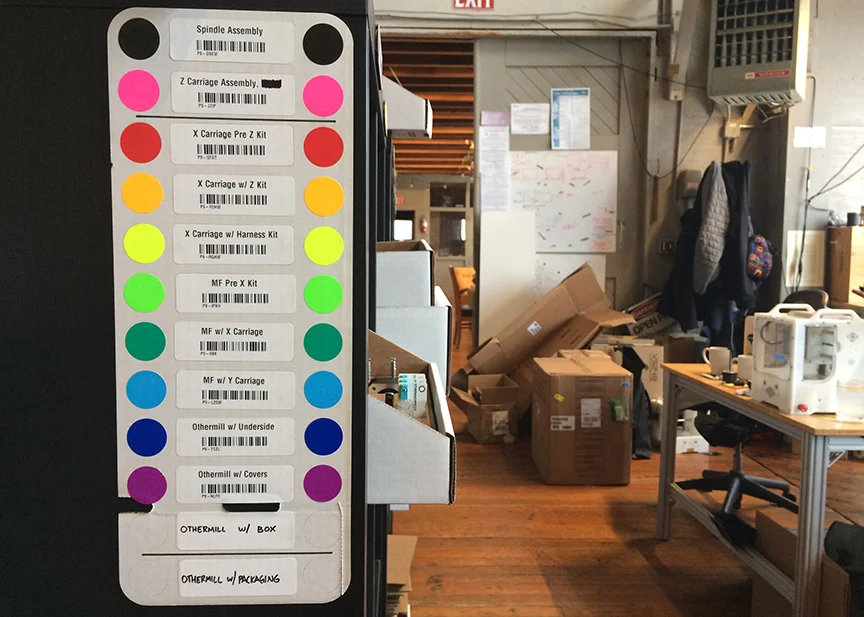
We use a few Kallax storage units from Ikea to act as a staging area for the kits. If a box is facing out, it’s full and ready to use. Once used, an assembler returns the kit box backwards, so the person in charge of kitting for the day knows that it’s ready to be filled.
We’re also fans of color-coding things here at the Bantam Tools HQ, to move toward taking all the guesswork out of the assembly process. An assembler should be able to look at the color chart, grab the kit(s) they need, and immediately start distributing parts to each machine’s assembly area.
Like I did for the E-stop install tool, I’ve been using SolidWorks to iterate on the designs of these kits. While a few of them contain three or four layers of cardboard with the same design, others are more complex and require multiple “stacks” of cardboard in order to hold all the parts in a single kit. The kit seen below, “Main Frame with X Carriage,” contains three stacks, each made up of multiple sheets of cardboard.
I’m working with the assembly team to make sure we continue improving these over time. For example, would it make more sense to split each kit into six smaller trays of parts, so an assembler could place a single tray next to each machine, as opposed to multiple cups? It may also be more efficient for certain parts to appear in front of others, even if they aren’t used until later. Ideas like this are only ideas until we try them, so these kits will continue to change with our processes over time. Once the design is near-final, I’d also like to cut these out of a nicer foam material, to prevent any scratching on the sensitive parts and extend the life of the kits.
That’s it for now. Thanks for reading this edition of Factory Friday, and have a great weekend!


